Step 1
Create your account
Create your account
- Open your browser and navigate to app.codiris.build.
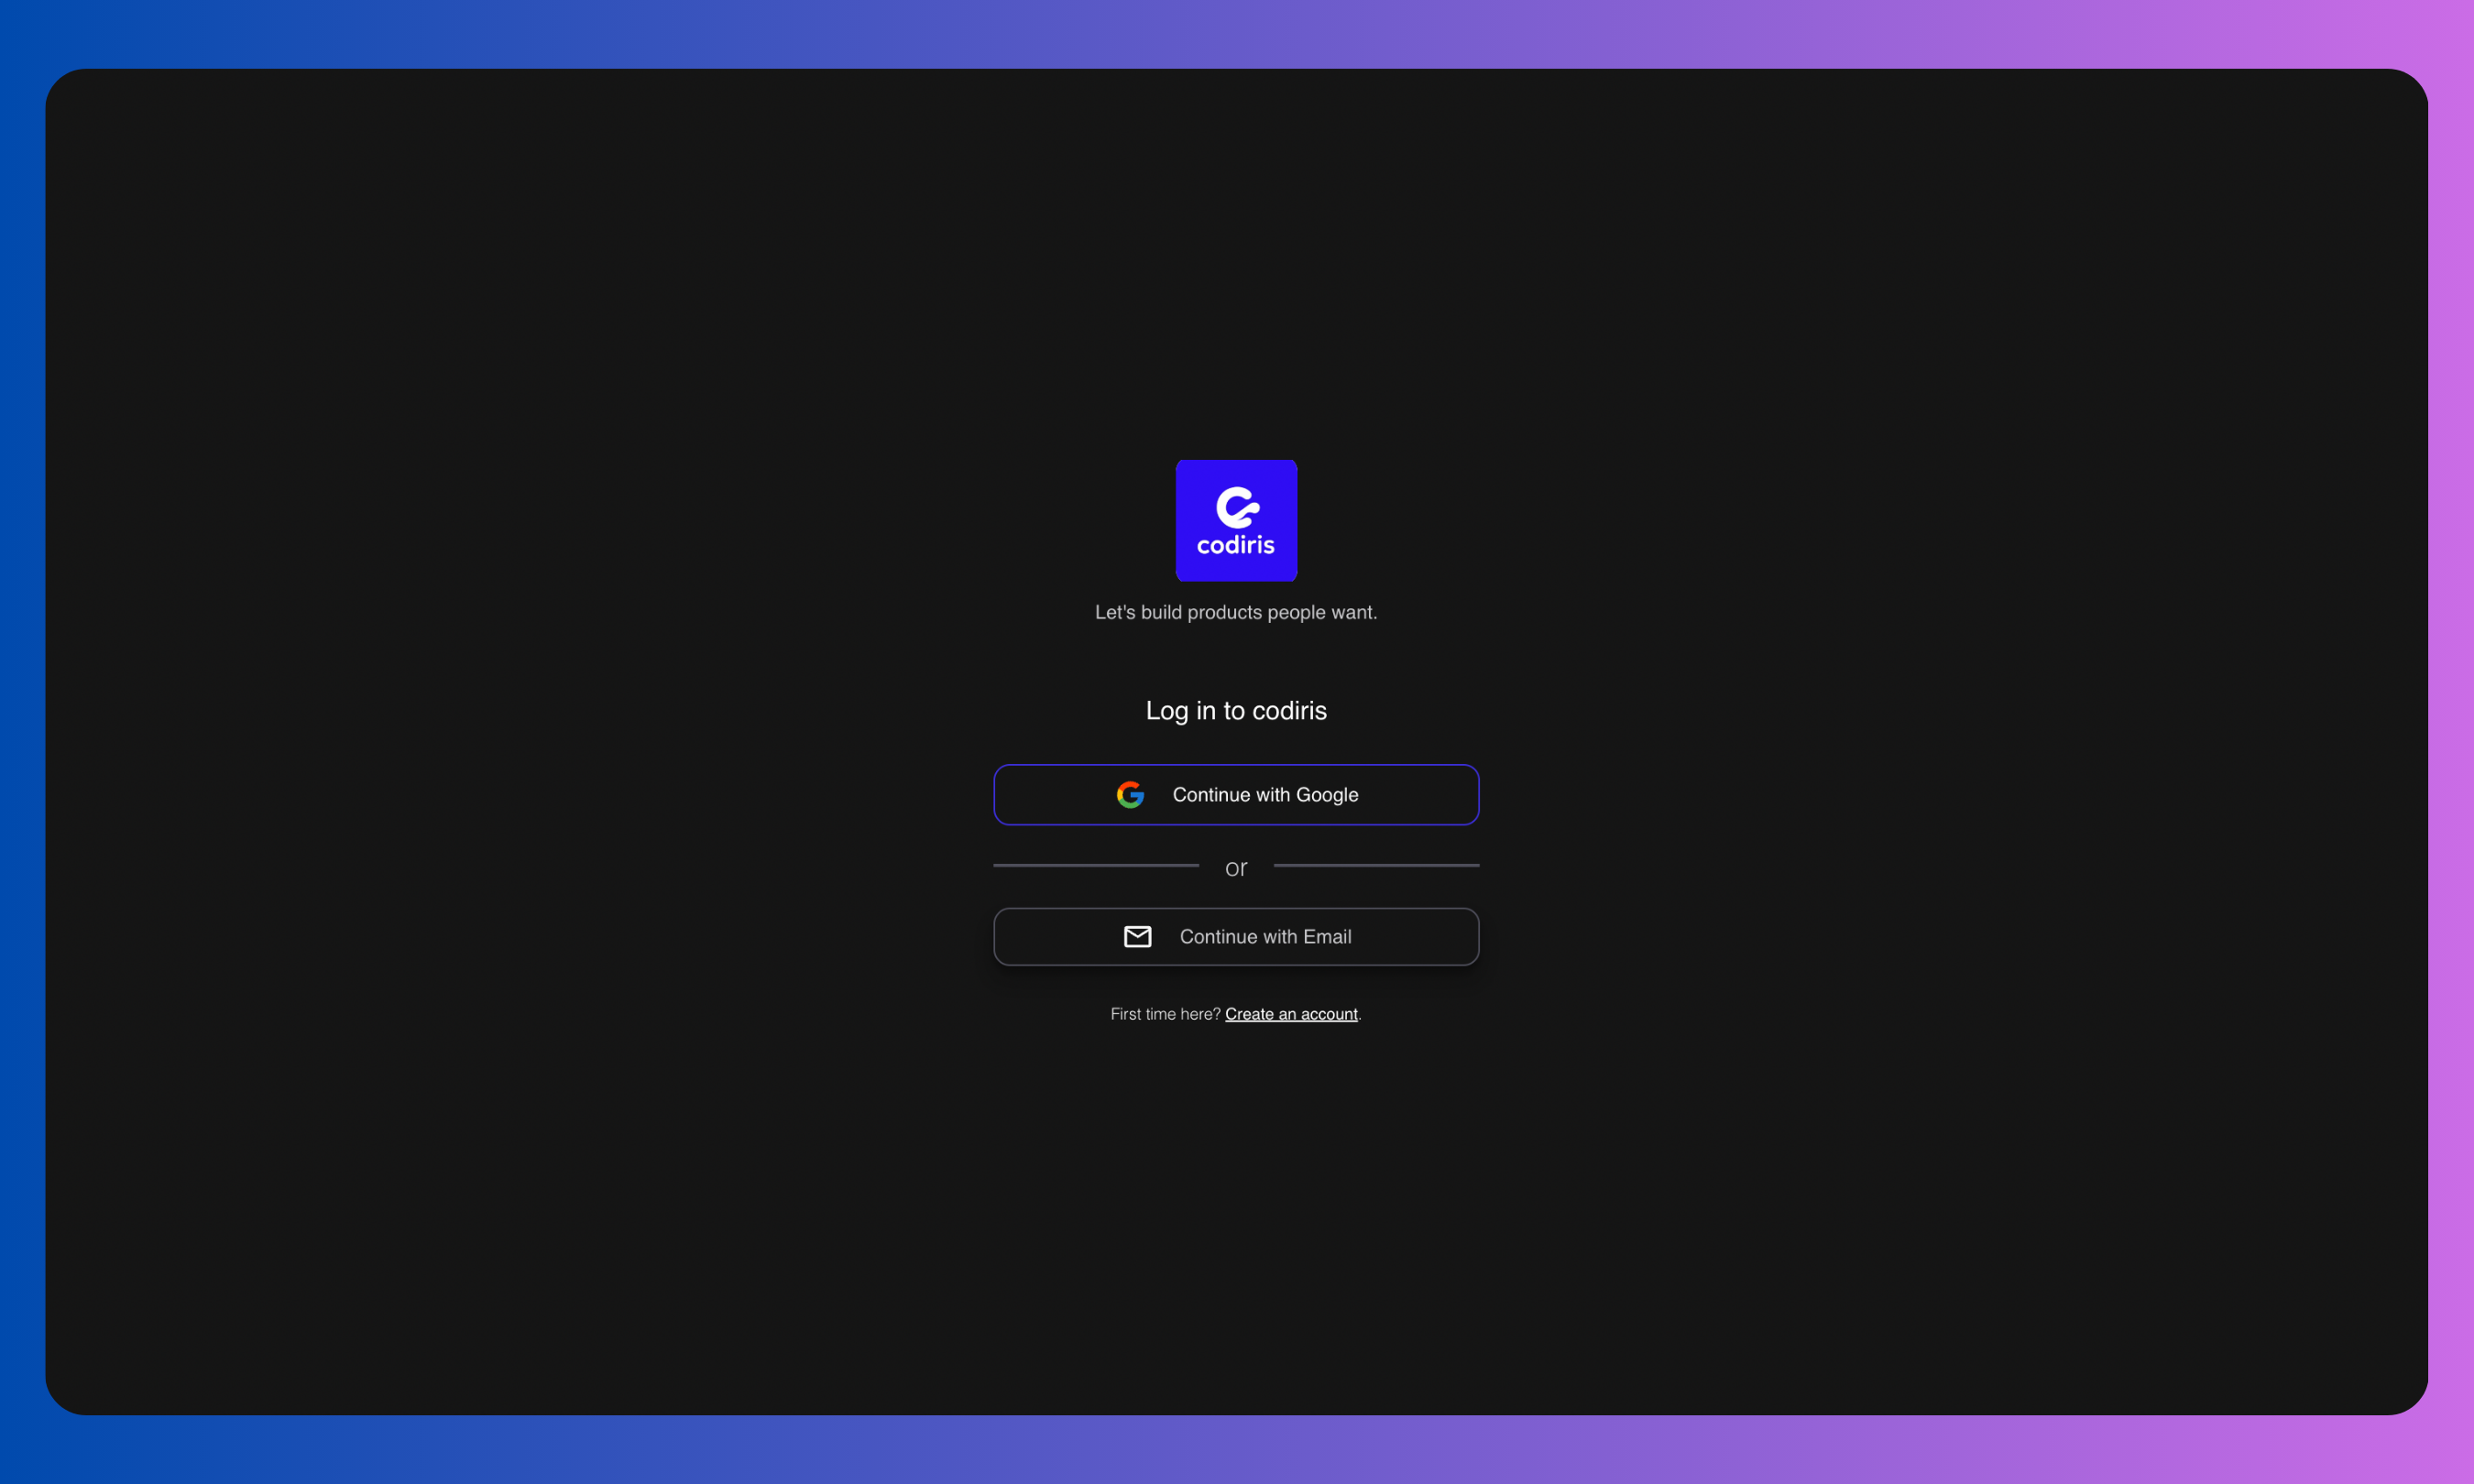
-
Create Account
- Enter your email and create a password. Your password must be at least 6 characters and include:
- One capital letter
- One number
- One symbol
- Check your inbox (if you can’t find the email in your inbox, check your junk or spam folders) and confirm your email by clicking the button in the verification email.
-
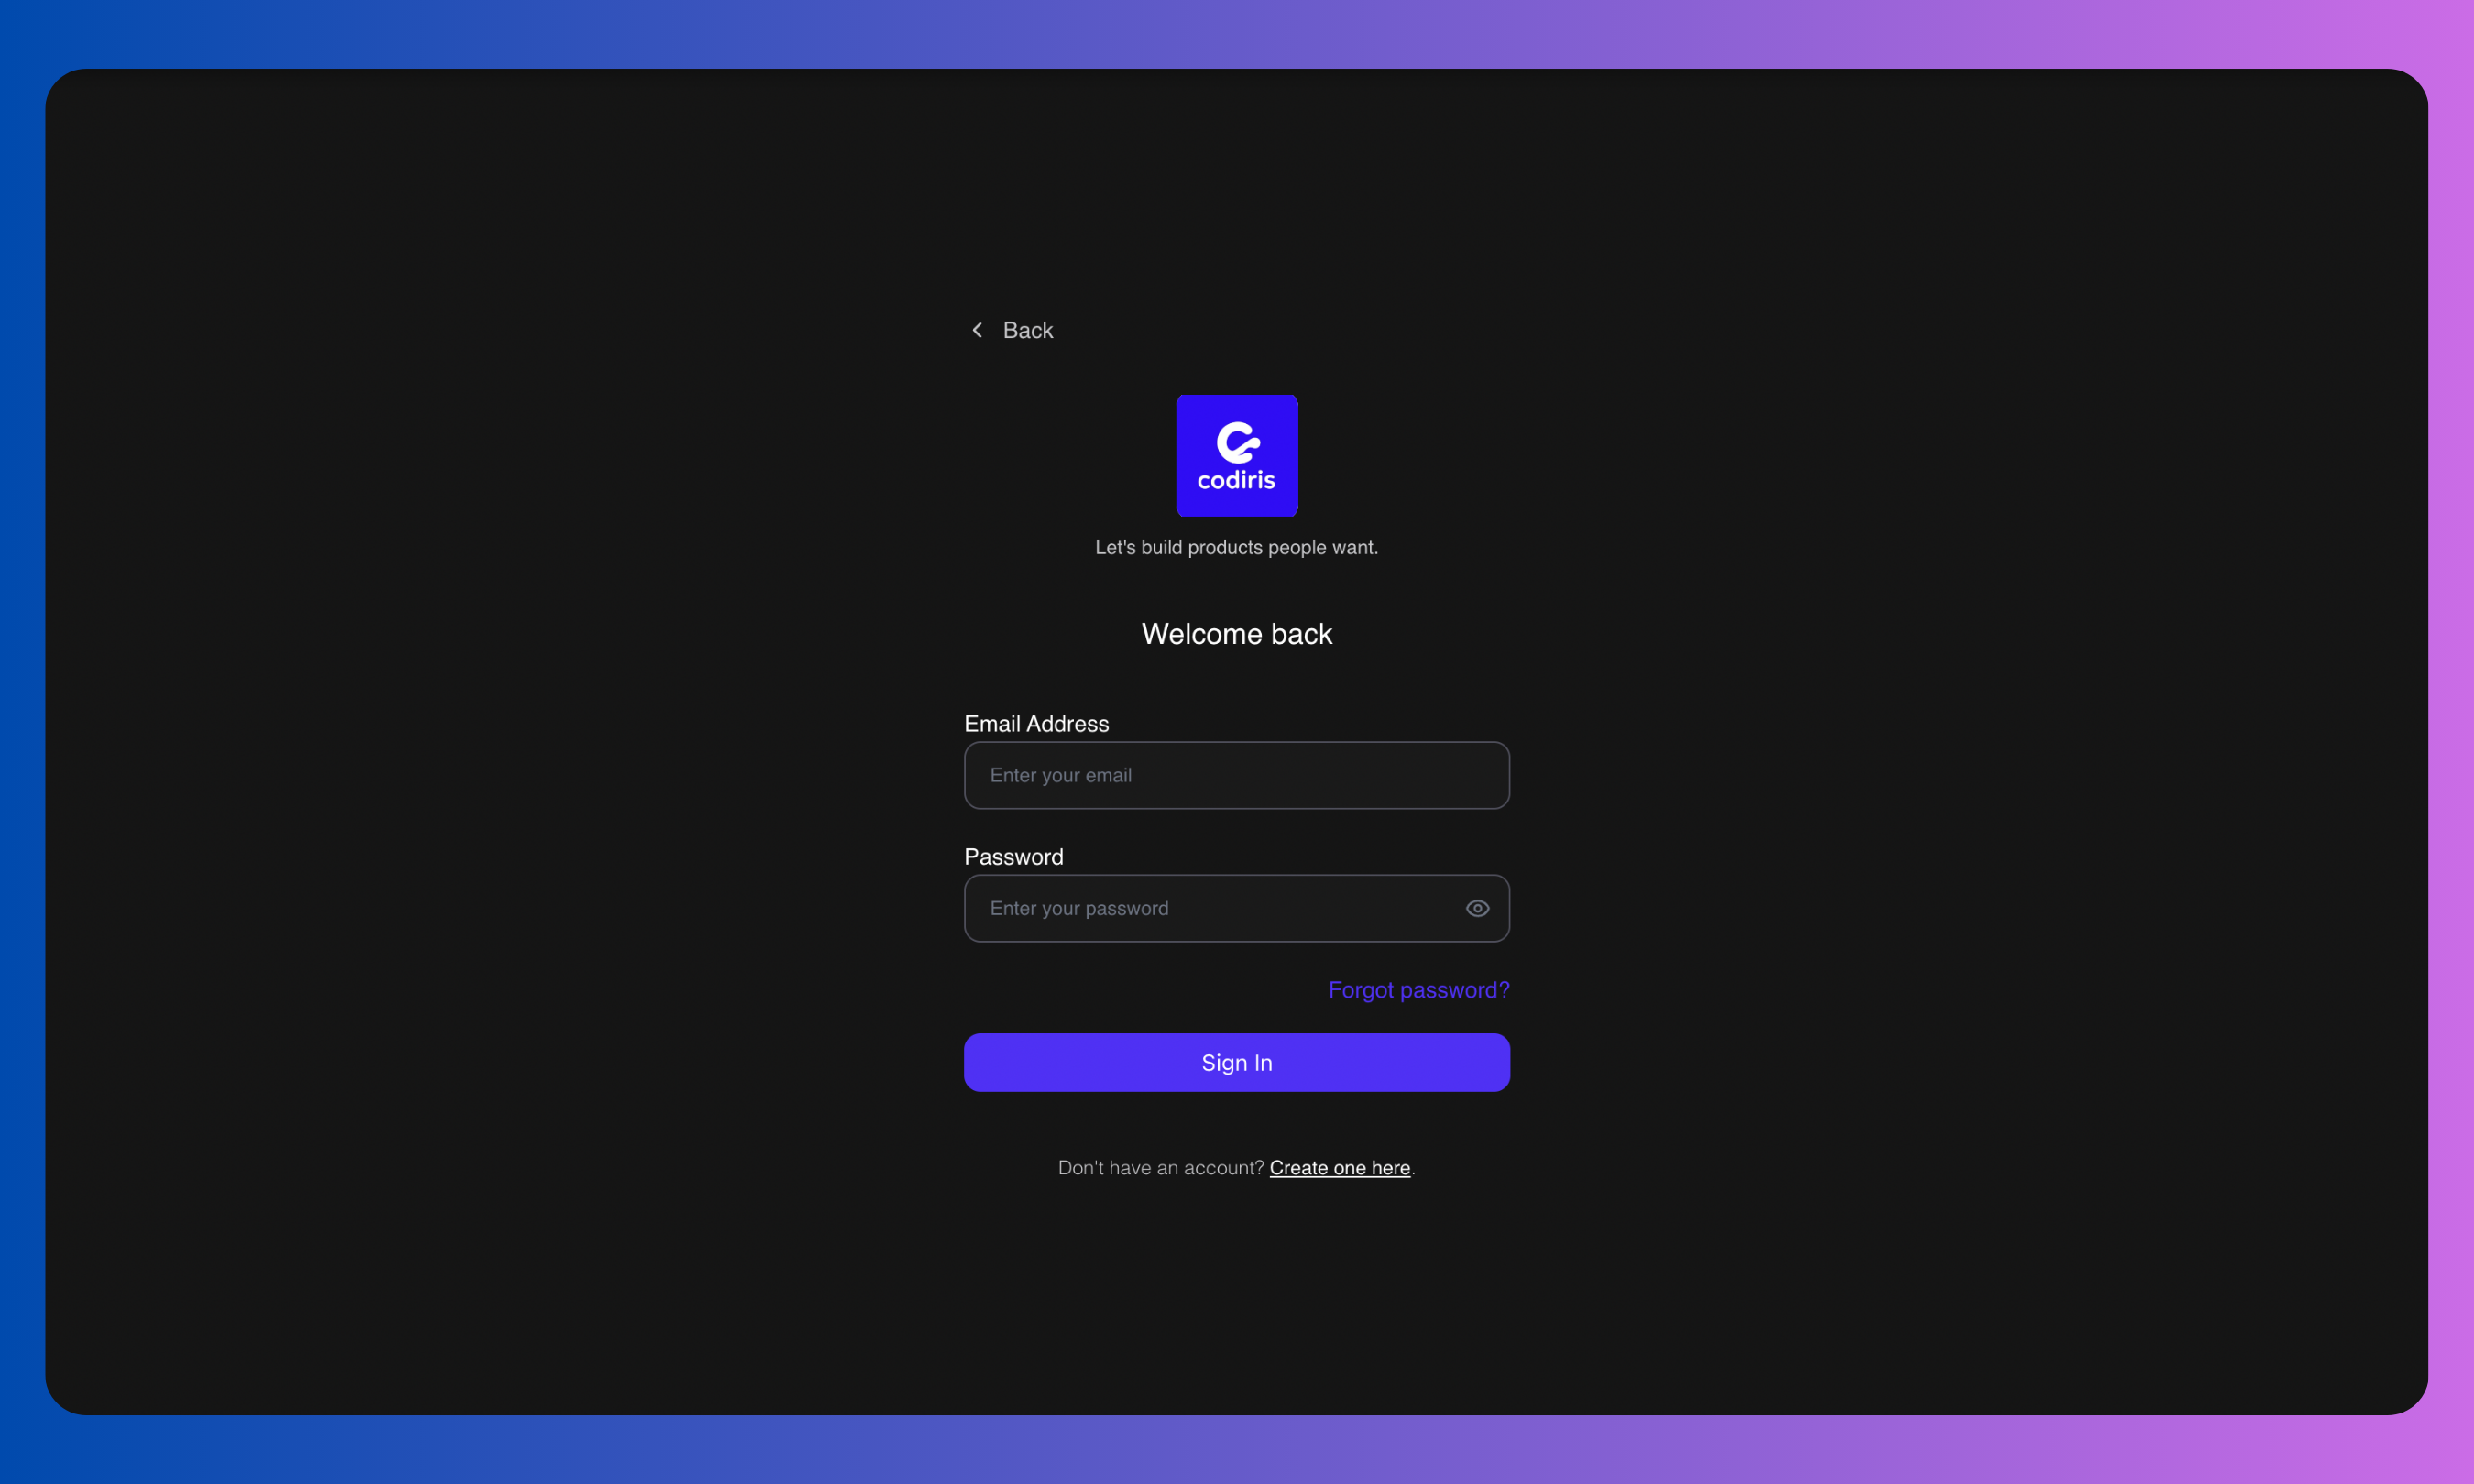
Login
- Onboarding Form
Fill out the onboarding form. If you complete every field, you’ll earn 100 extra credits. - Start Building
You’re in! Begin exploring Codiris and start building your first project.
Step 2
Create a New Project
Create a New Project
Every project in Codiris follows six phases: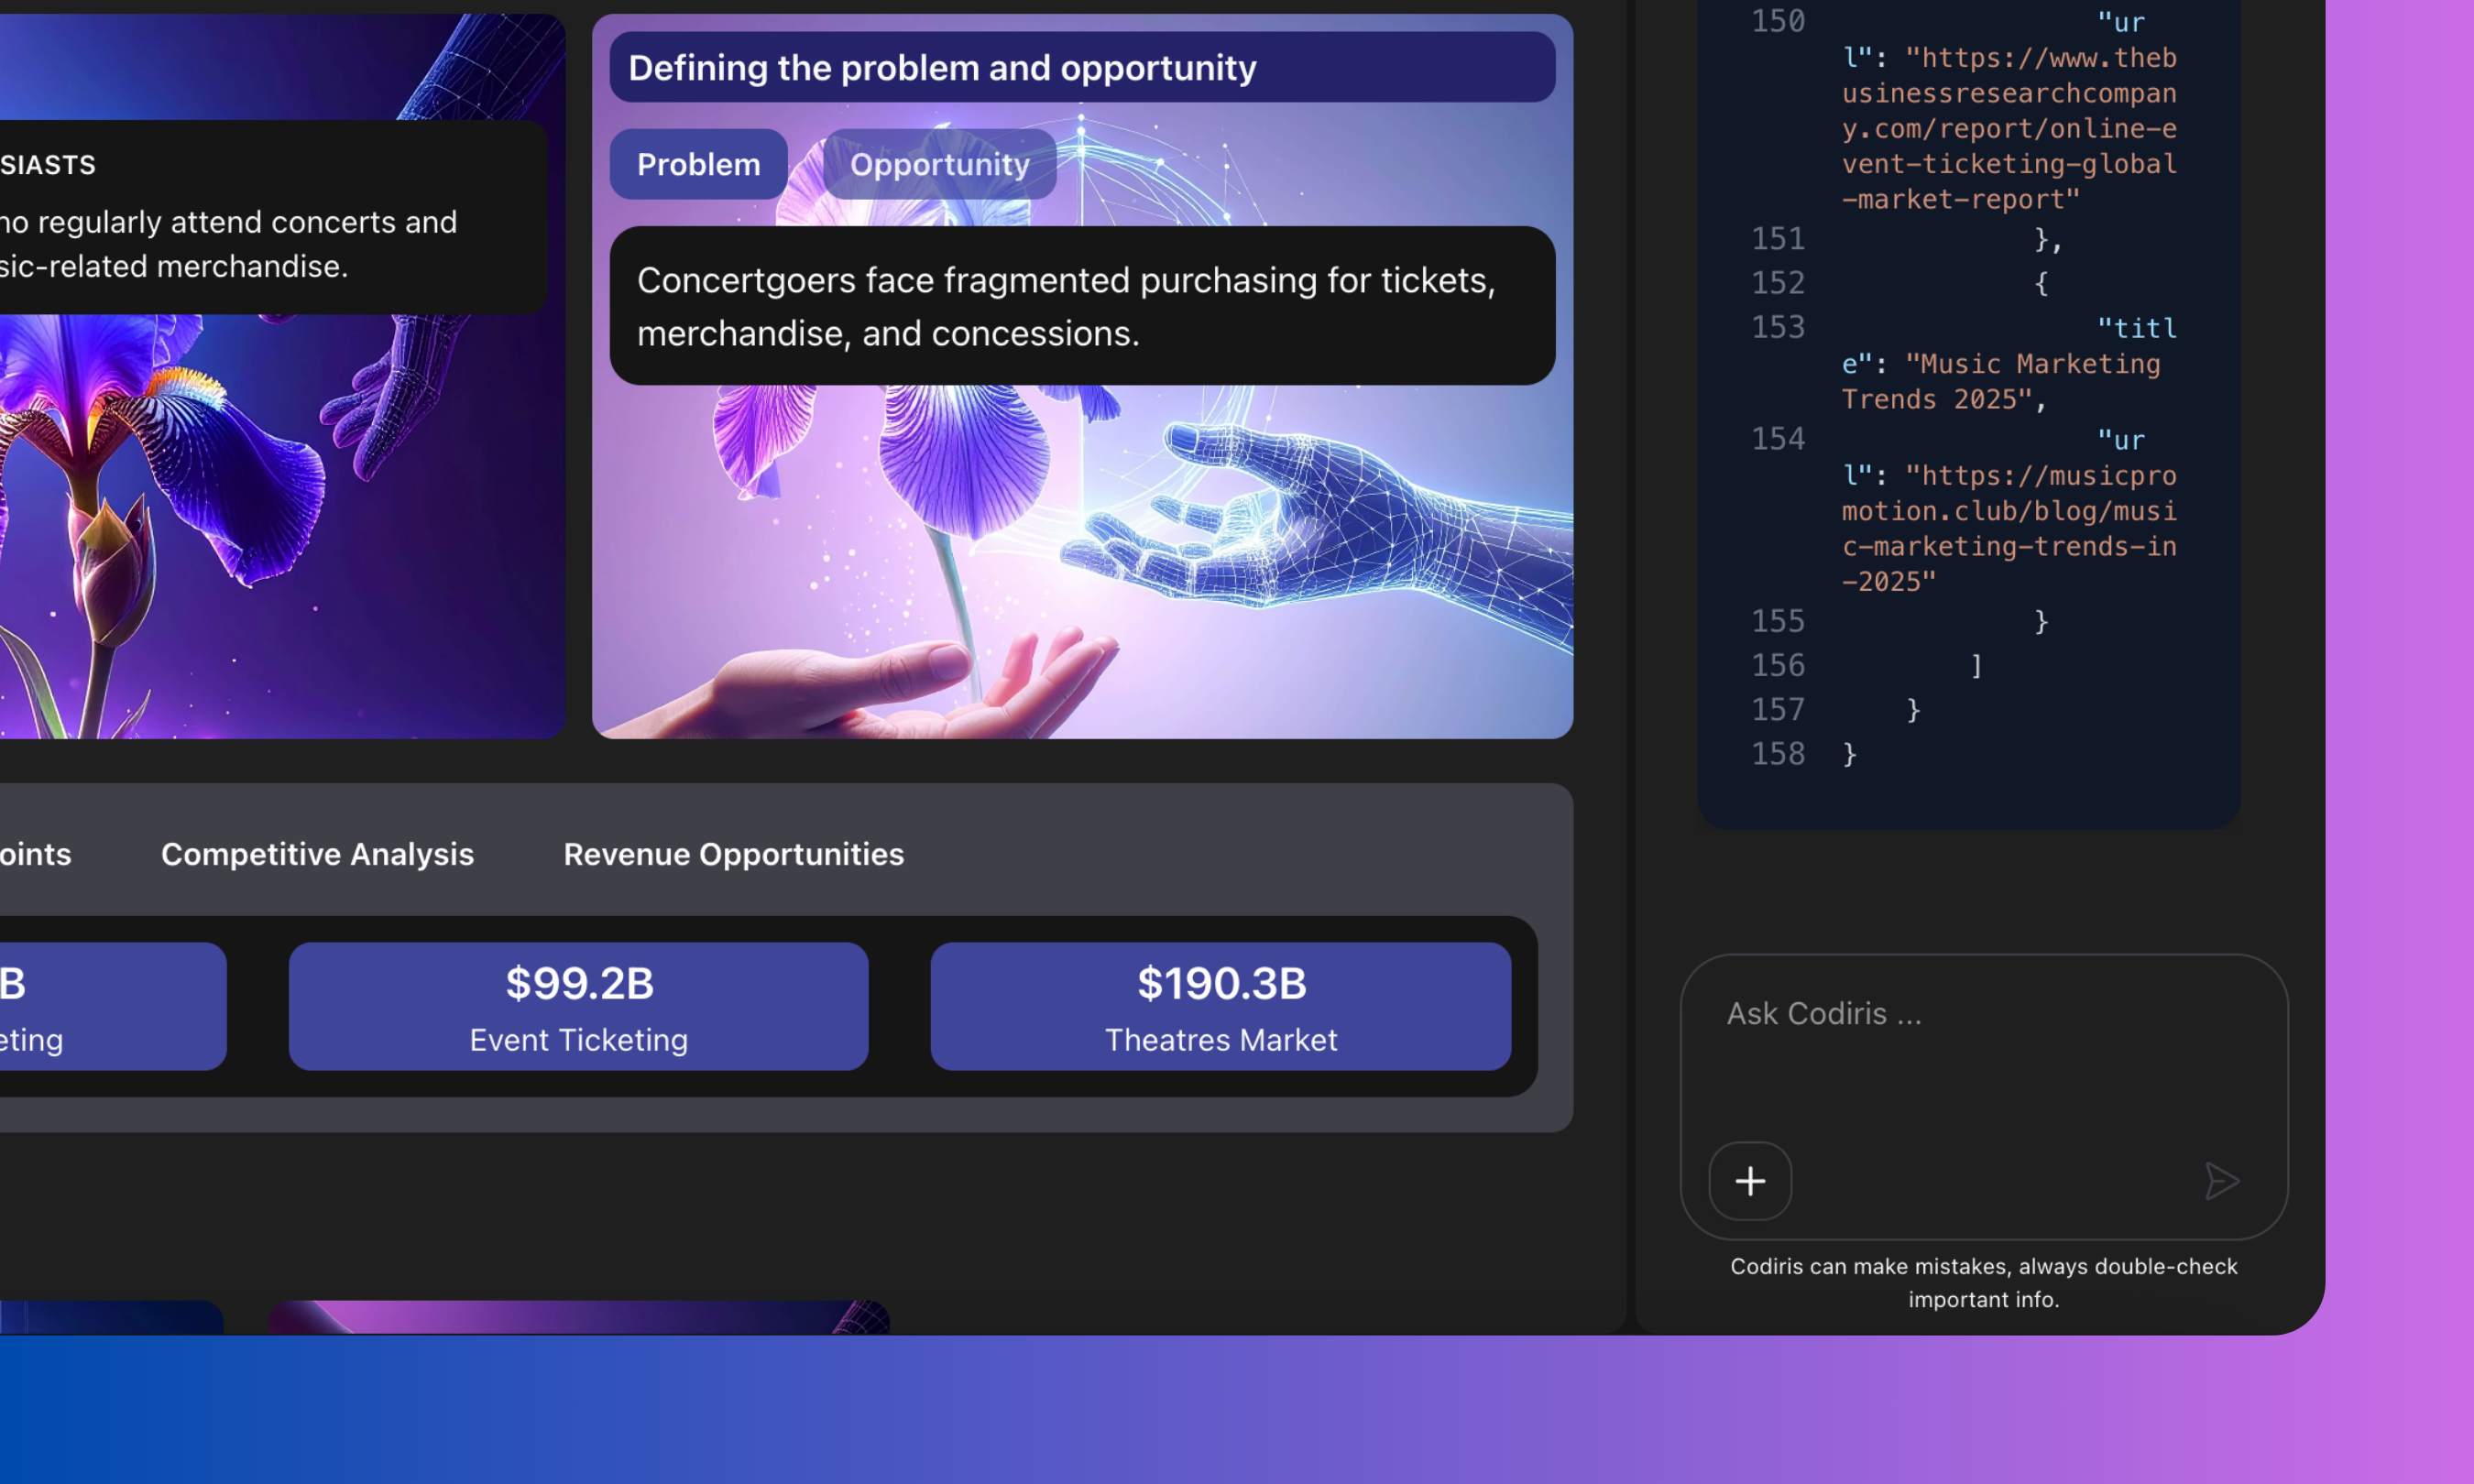
**Coming soon: User research, where Codiris will create a research plan, conduct interviews, compile insights, and give you recommendations to iterate.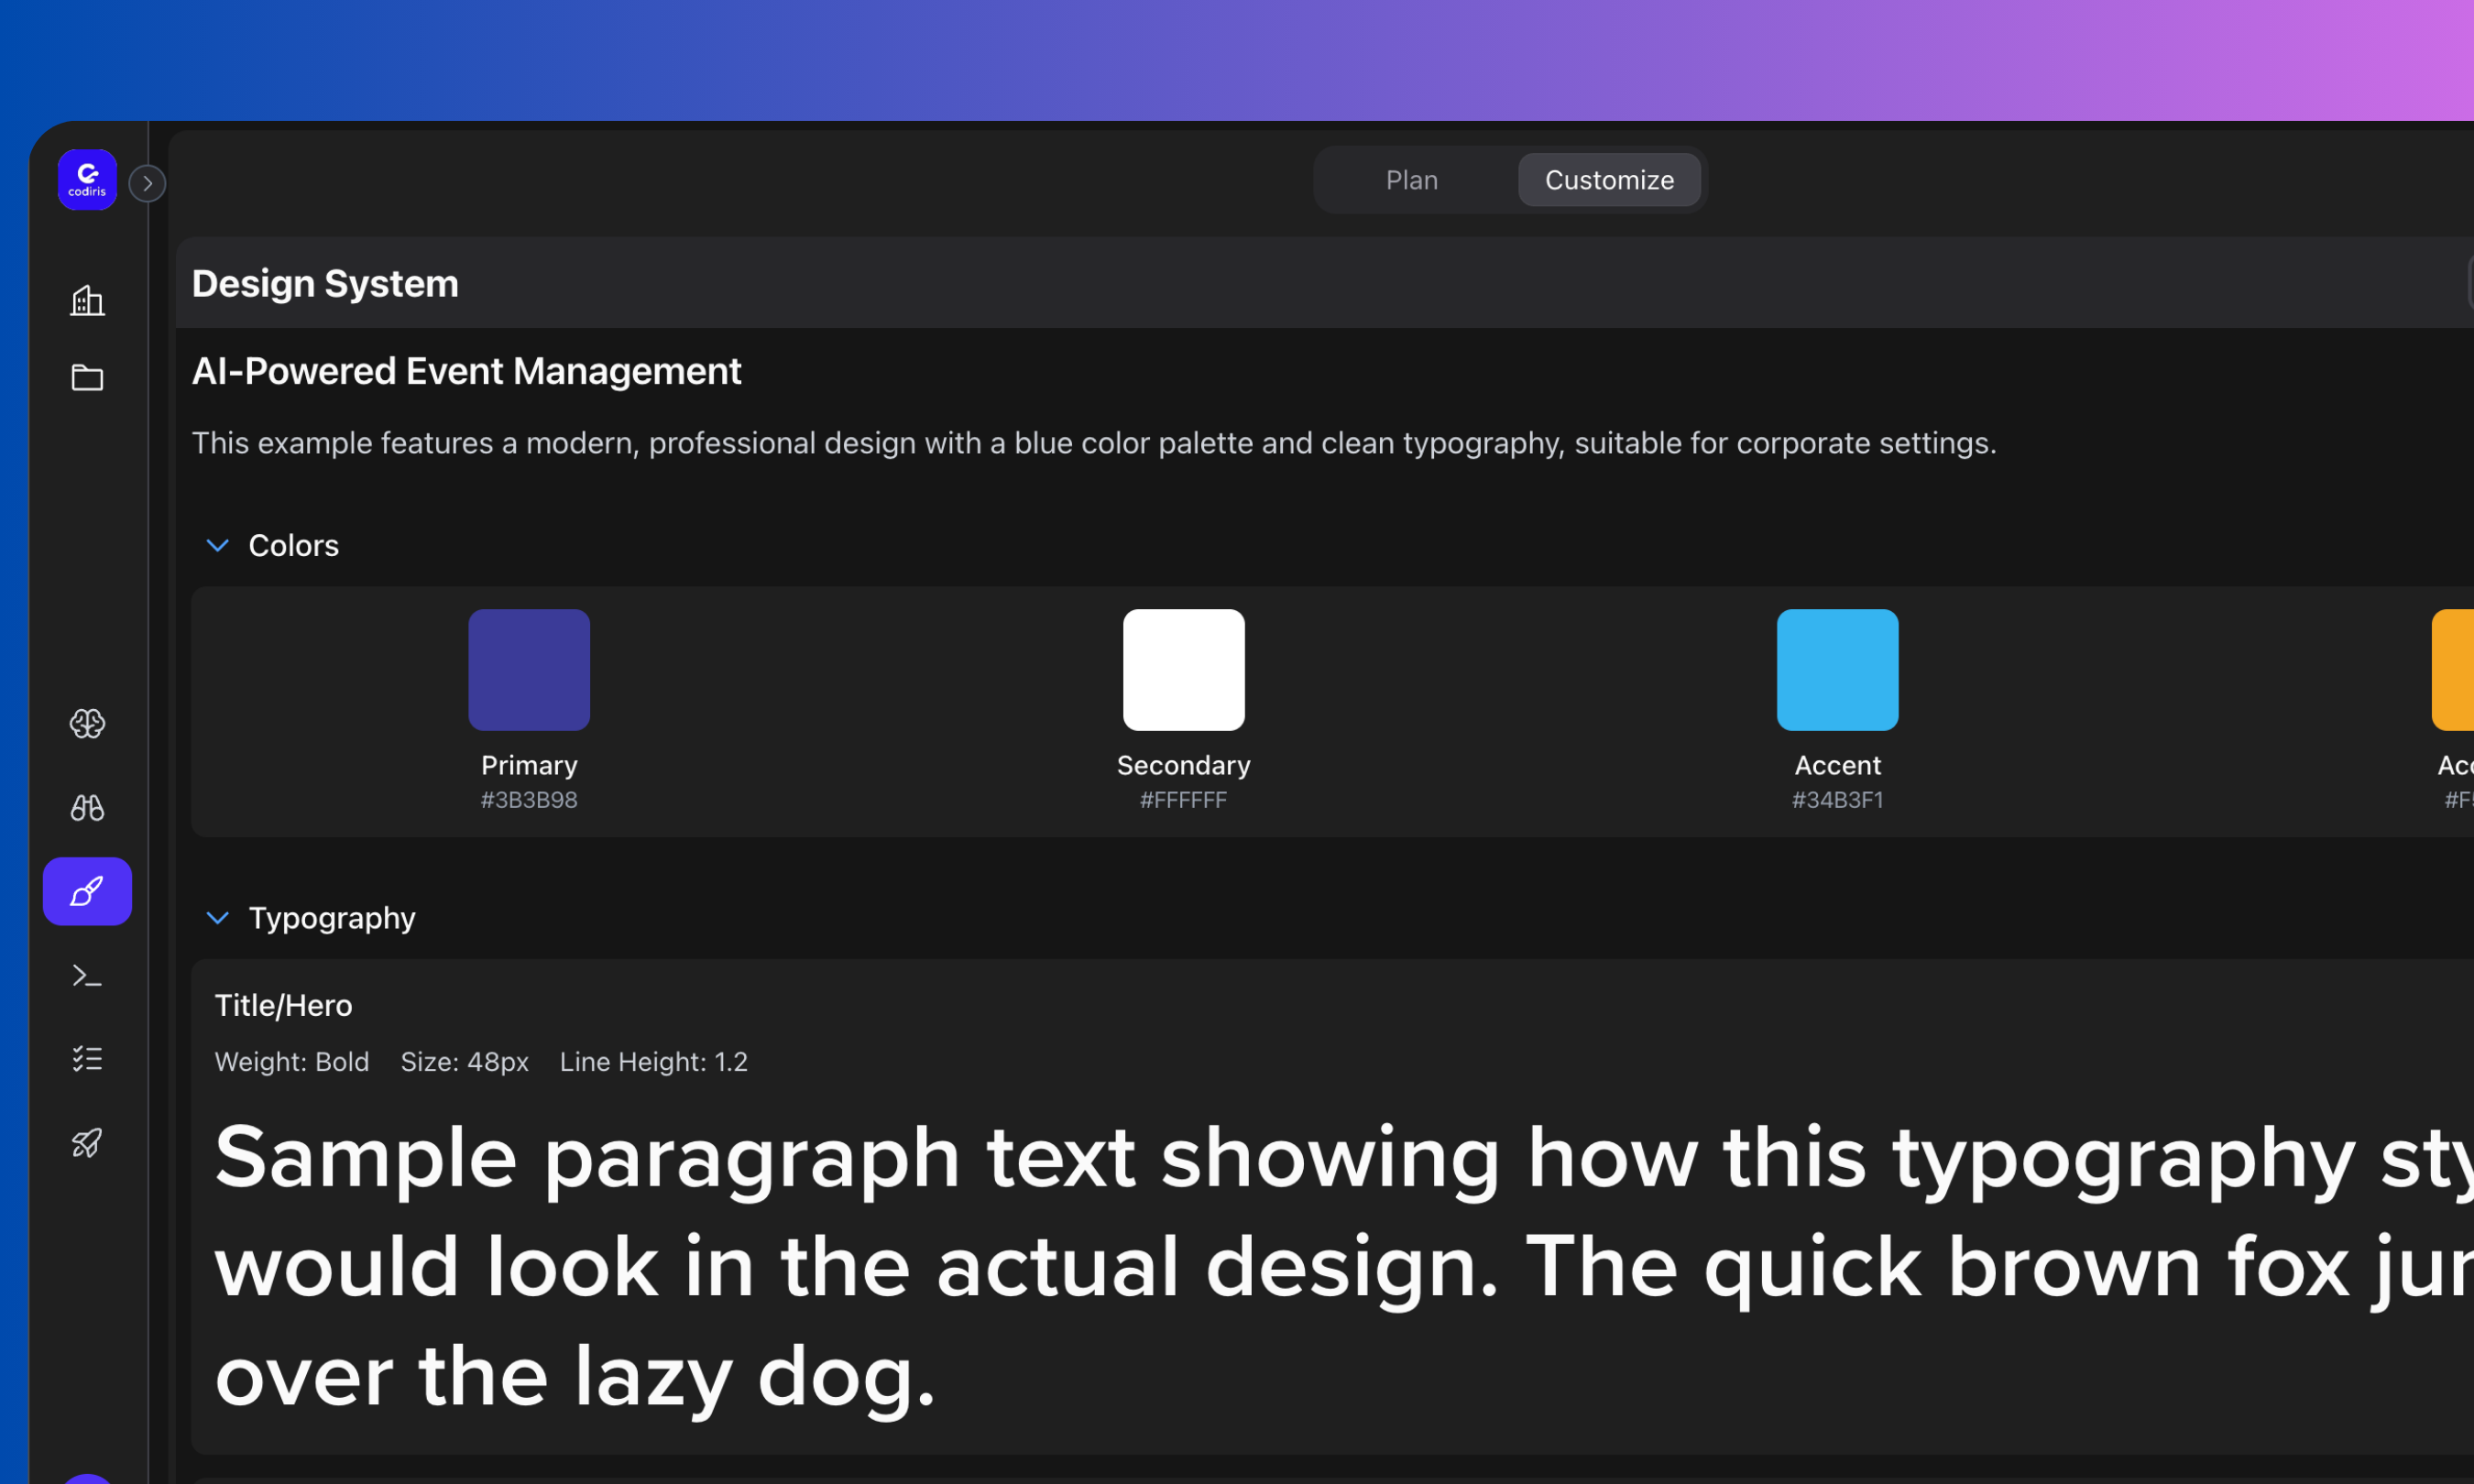
-
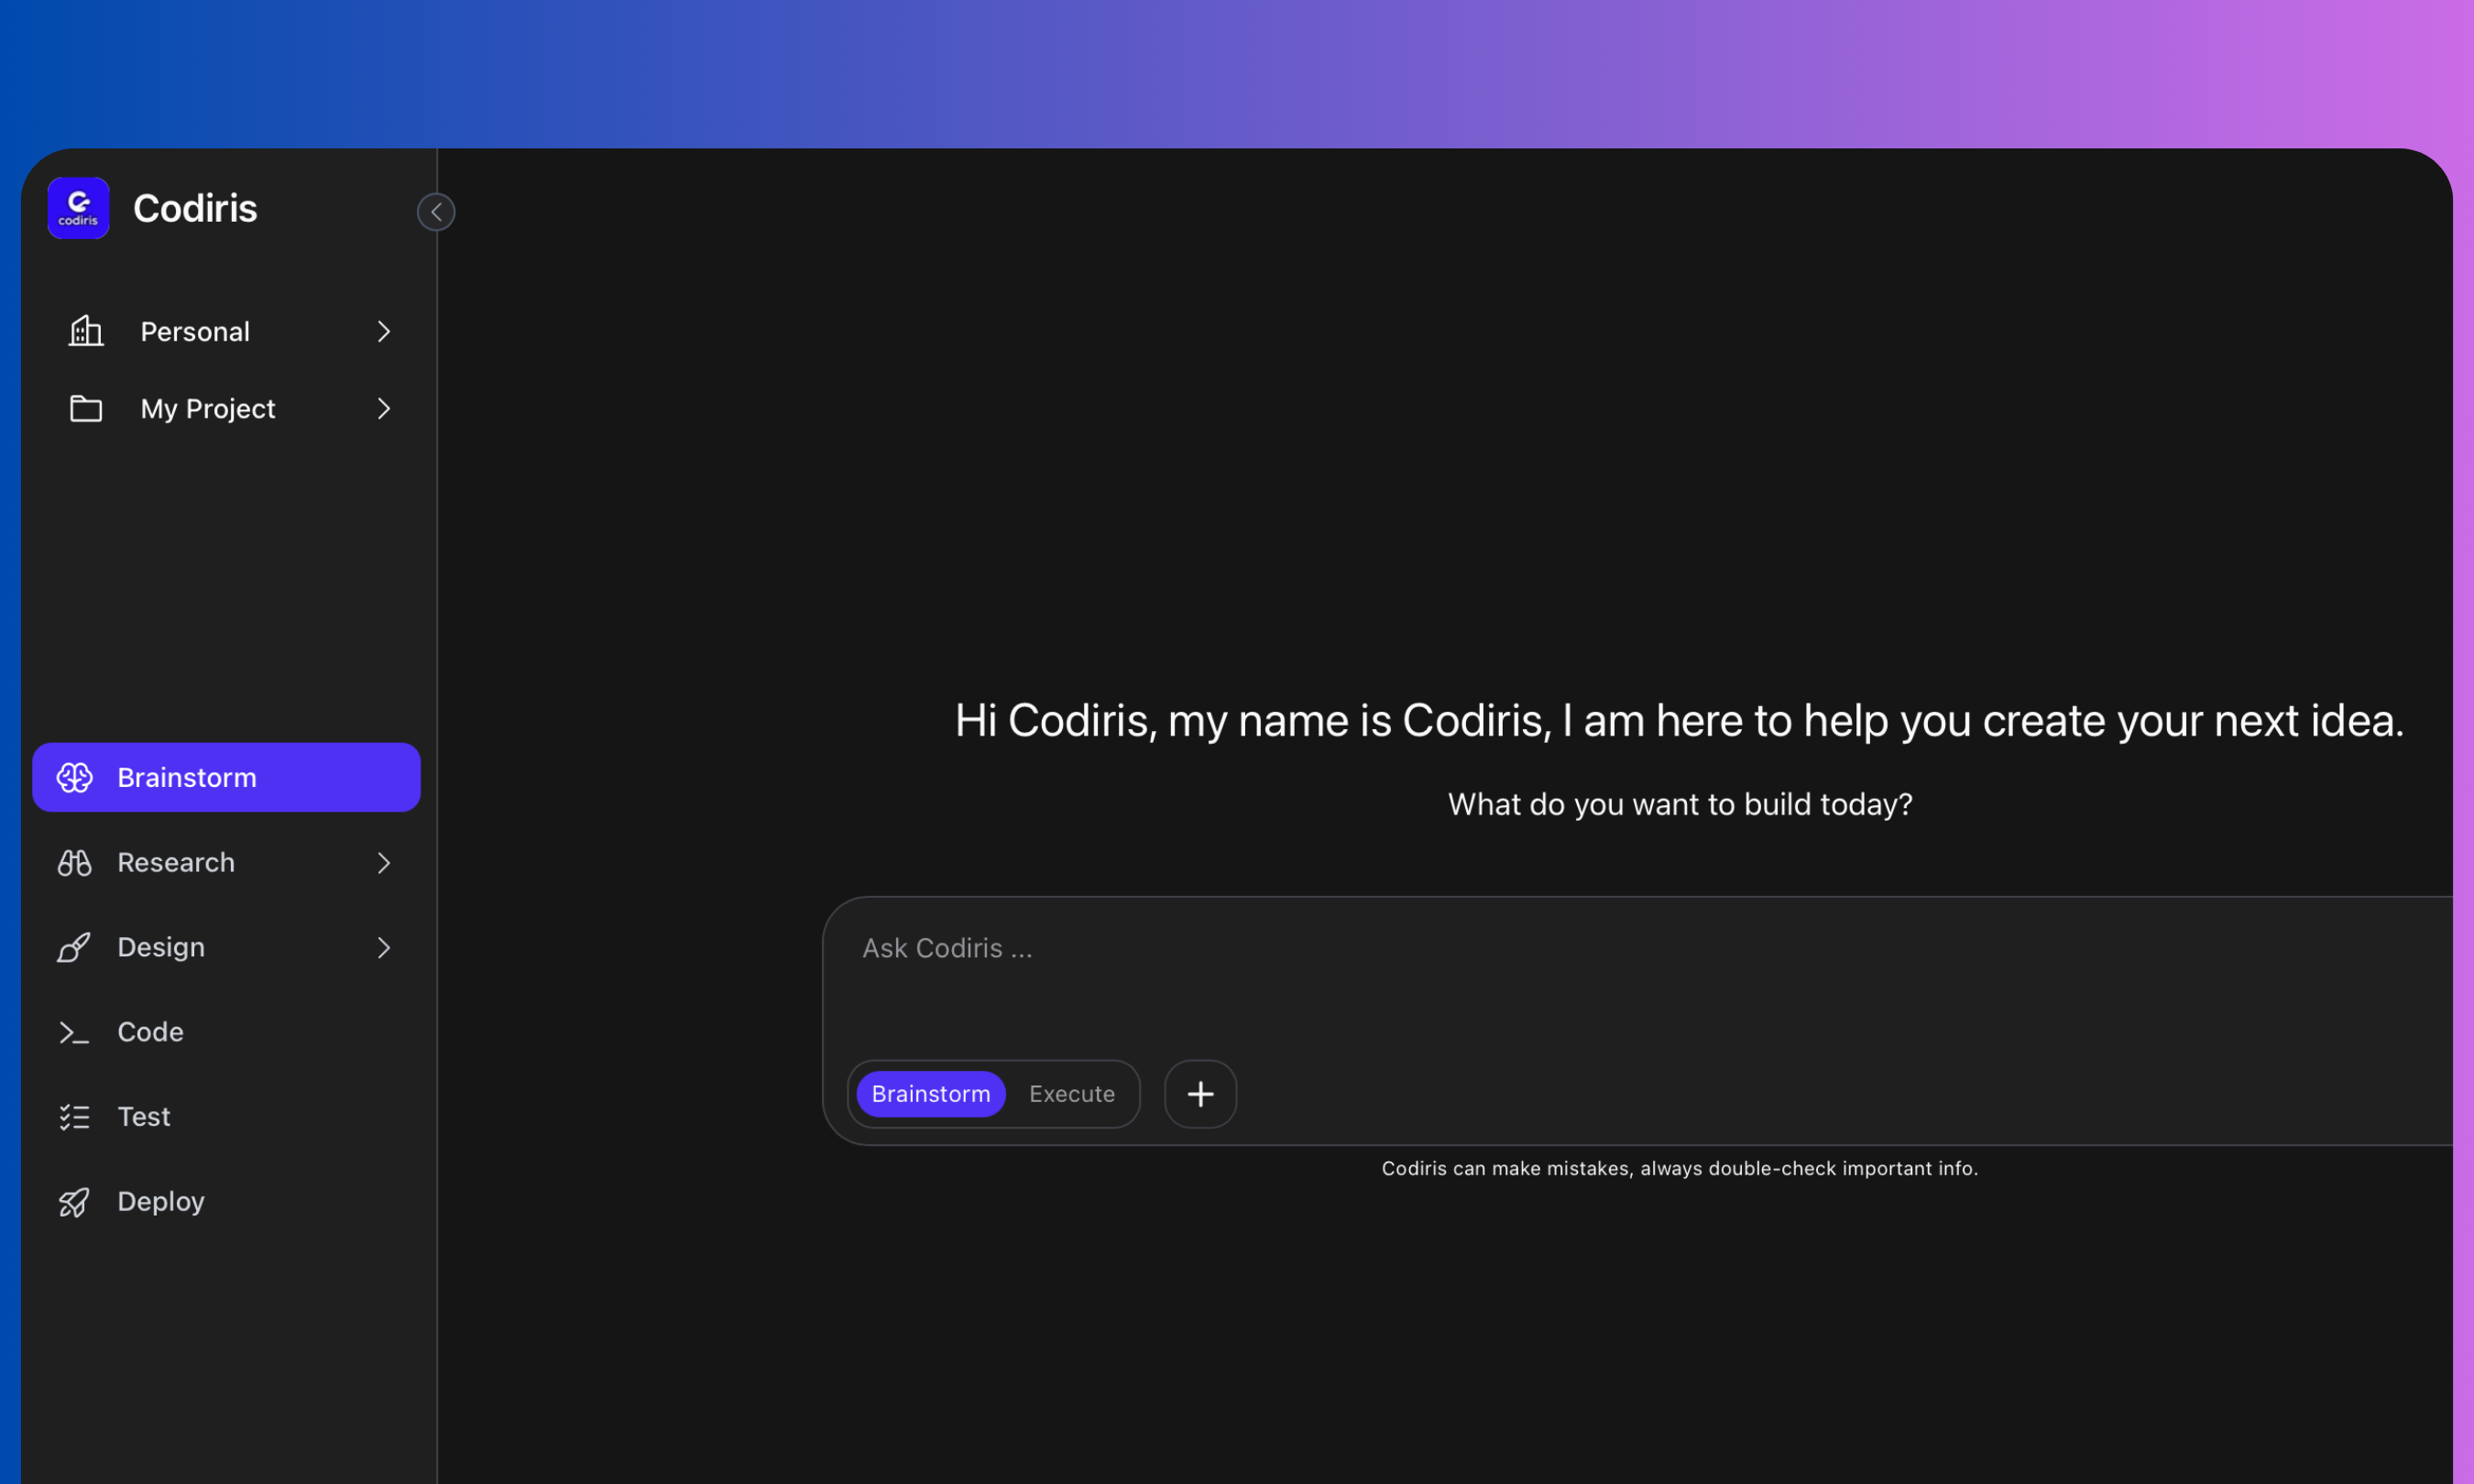
Brainstorm
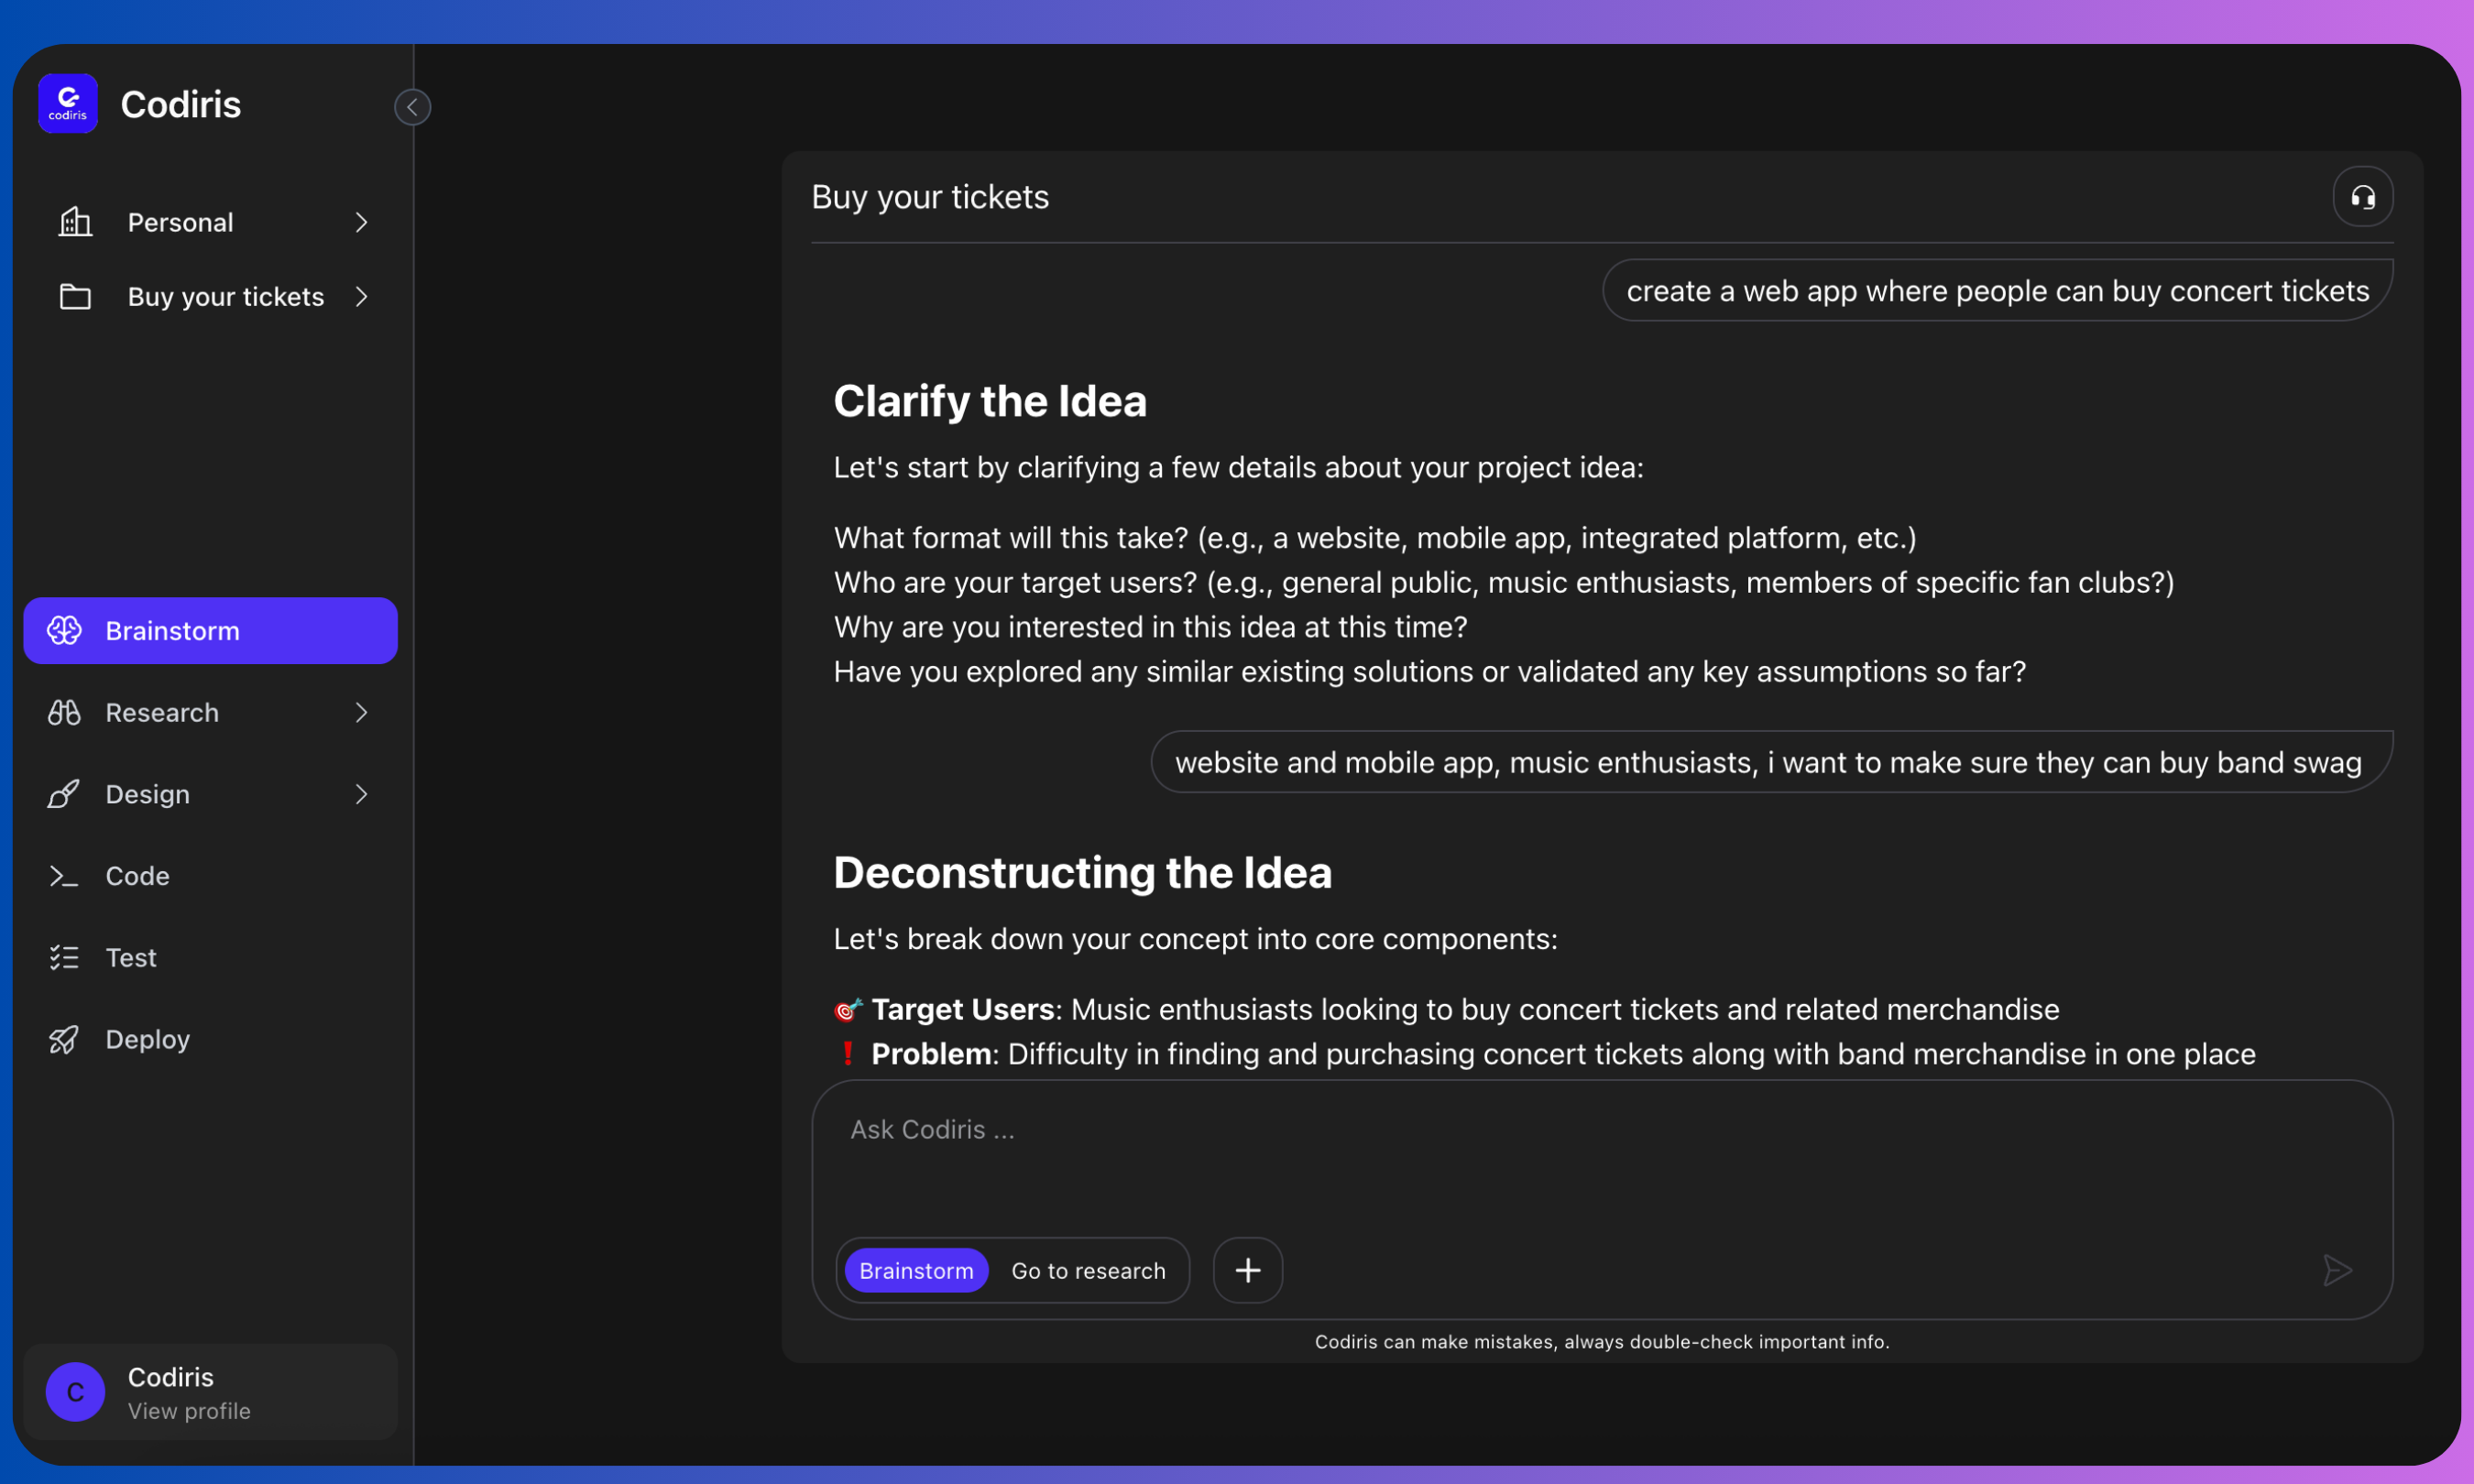
Write a prompt and brainstorm with Codiris. He will ask clarifying questions, deconstruct your idea, and offer to start the market research. You can continue brainstorming as long as you want. -
Research
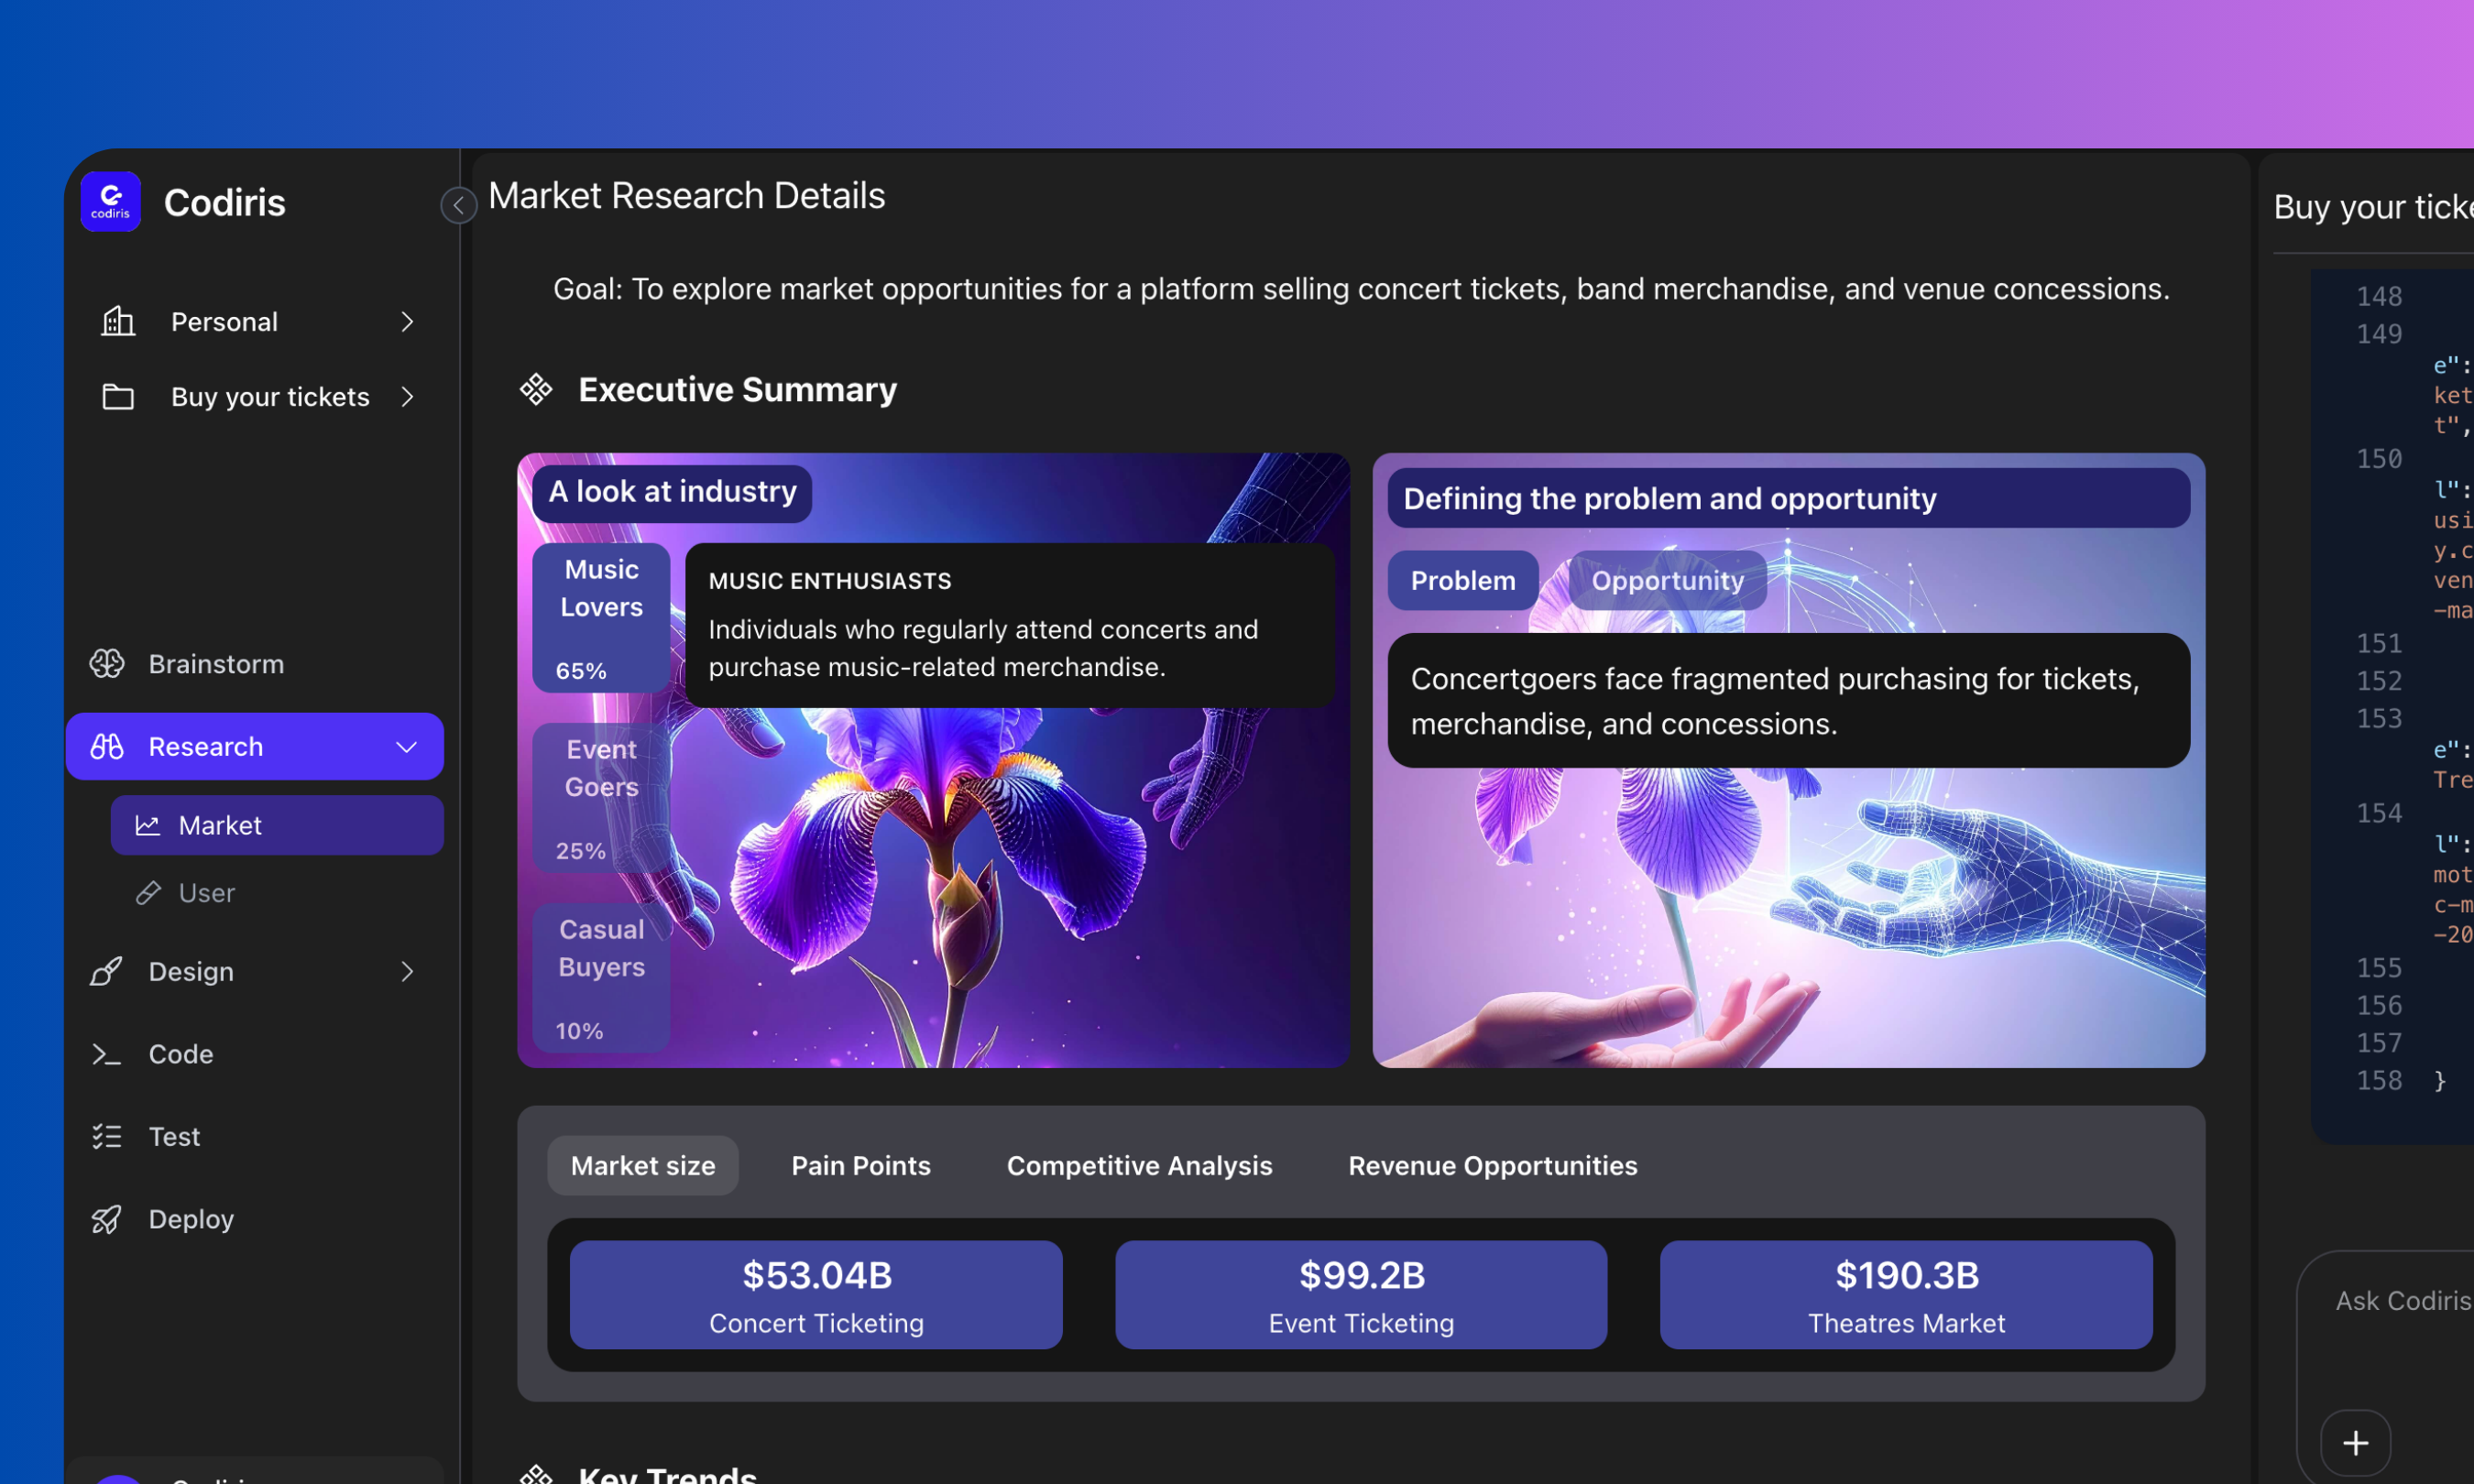
- When you’re ready, click “Go To Research” in the chat box. Codiris will show you:
- Main industry players
- The problem and opportunity for your project
- Market size and trends
- Competitive analysis
- Industry pain points
- Revenue opportunities
**Coming soon: User research, where Codiris will create a research plan, conduct interviews, compile insights, and give you recommendations to iterate.
-
**Design **
3.1 Stories
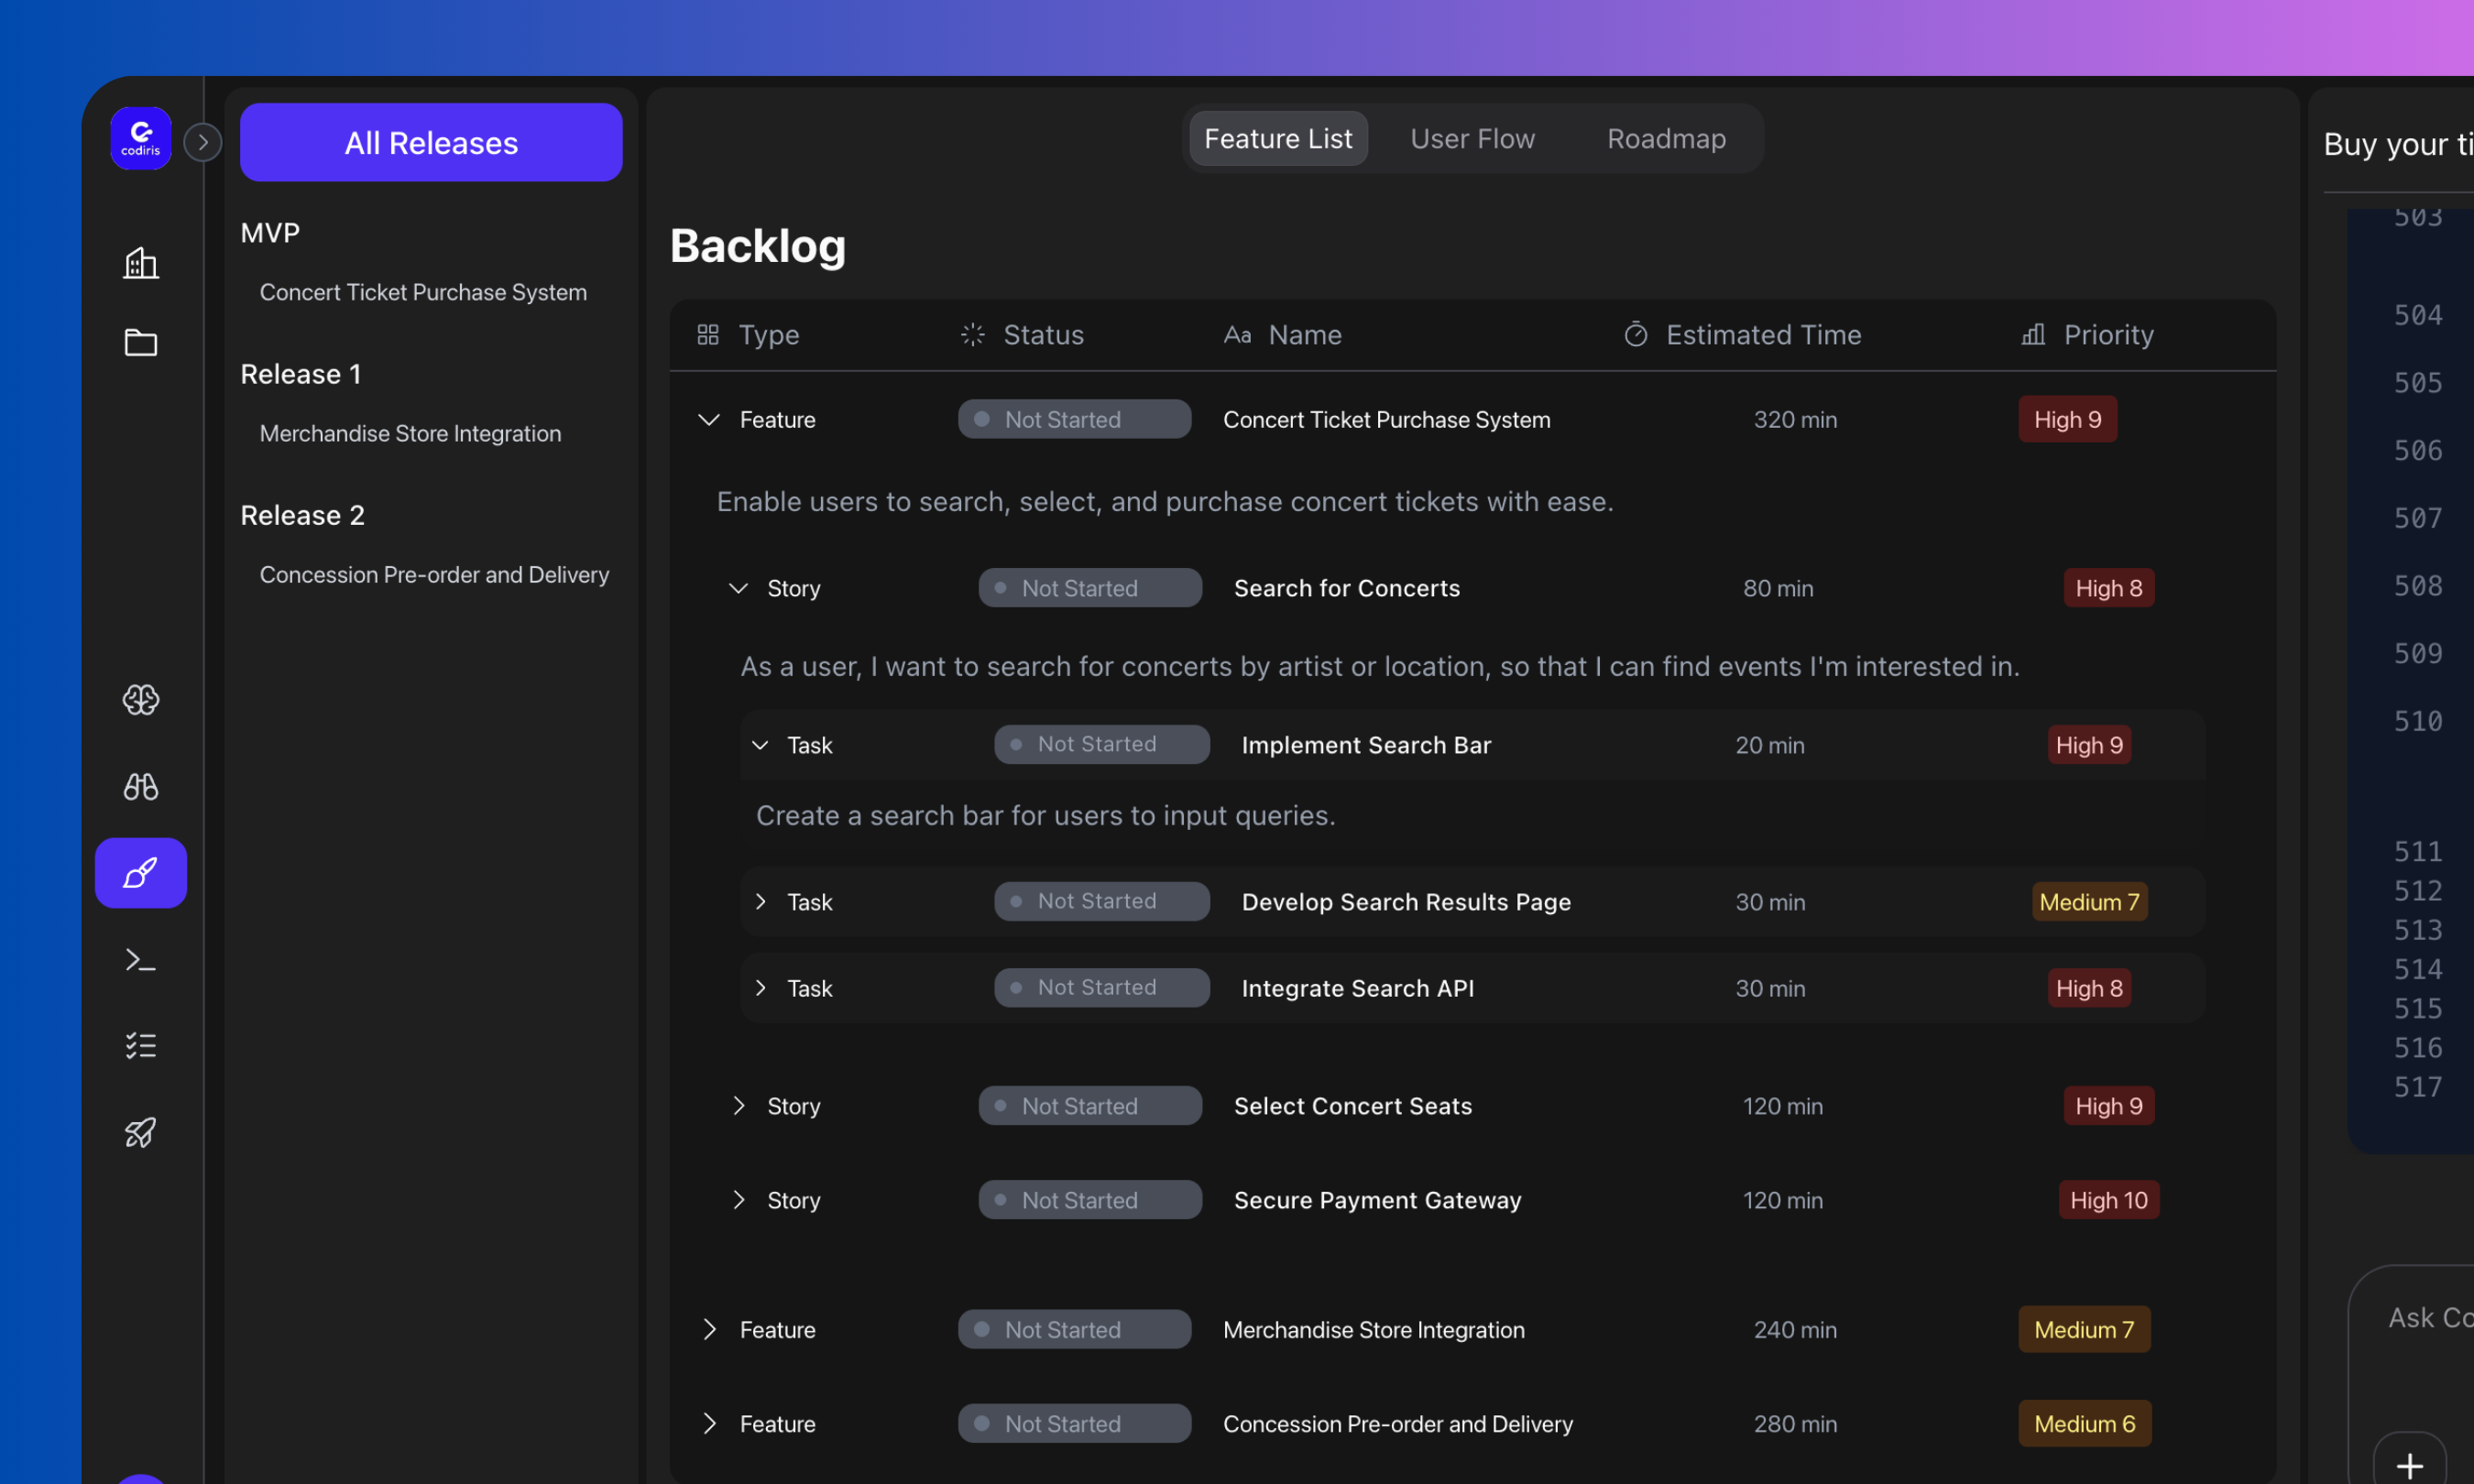
- Draft a backlog of features
- Draft a backlog of features
- Create user stories and tasks
- Organize them by versions (MVP, Release 1, etc.)
- Upload inspiration images or a design system (images only for now, Figma support coming soon)
- Add notes with extra details
- Or let Codiris create a design system automatically by clicking “Let Codiris Do It”
-
Developpement
4.1 Frontend
With the design system ready, Codiris will generate the first iteration of your UI.
You can iterate in the chat and choose which type of agent to use: Fast, Medium Thinking, or High Thinking (see Features section for details).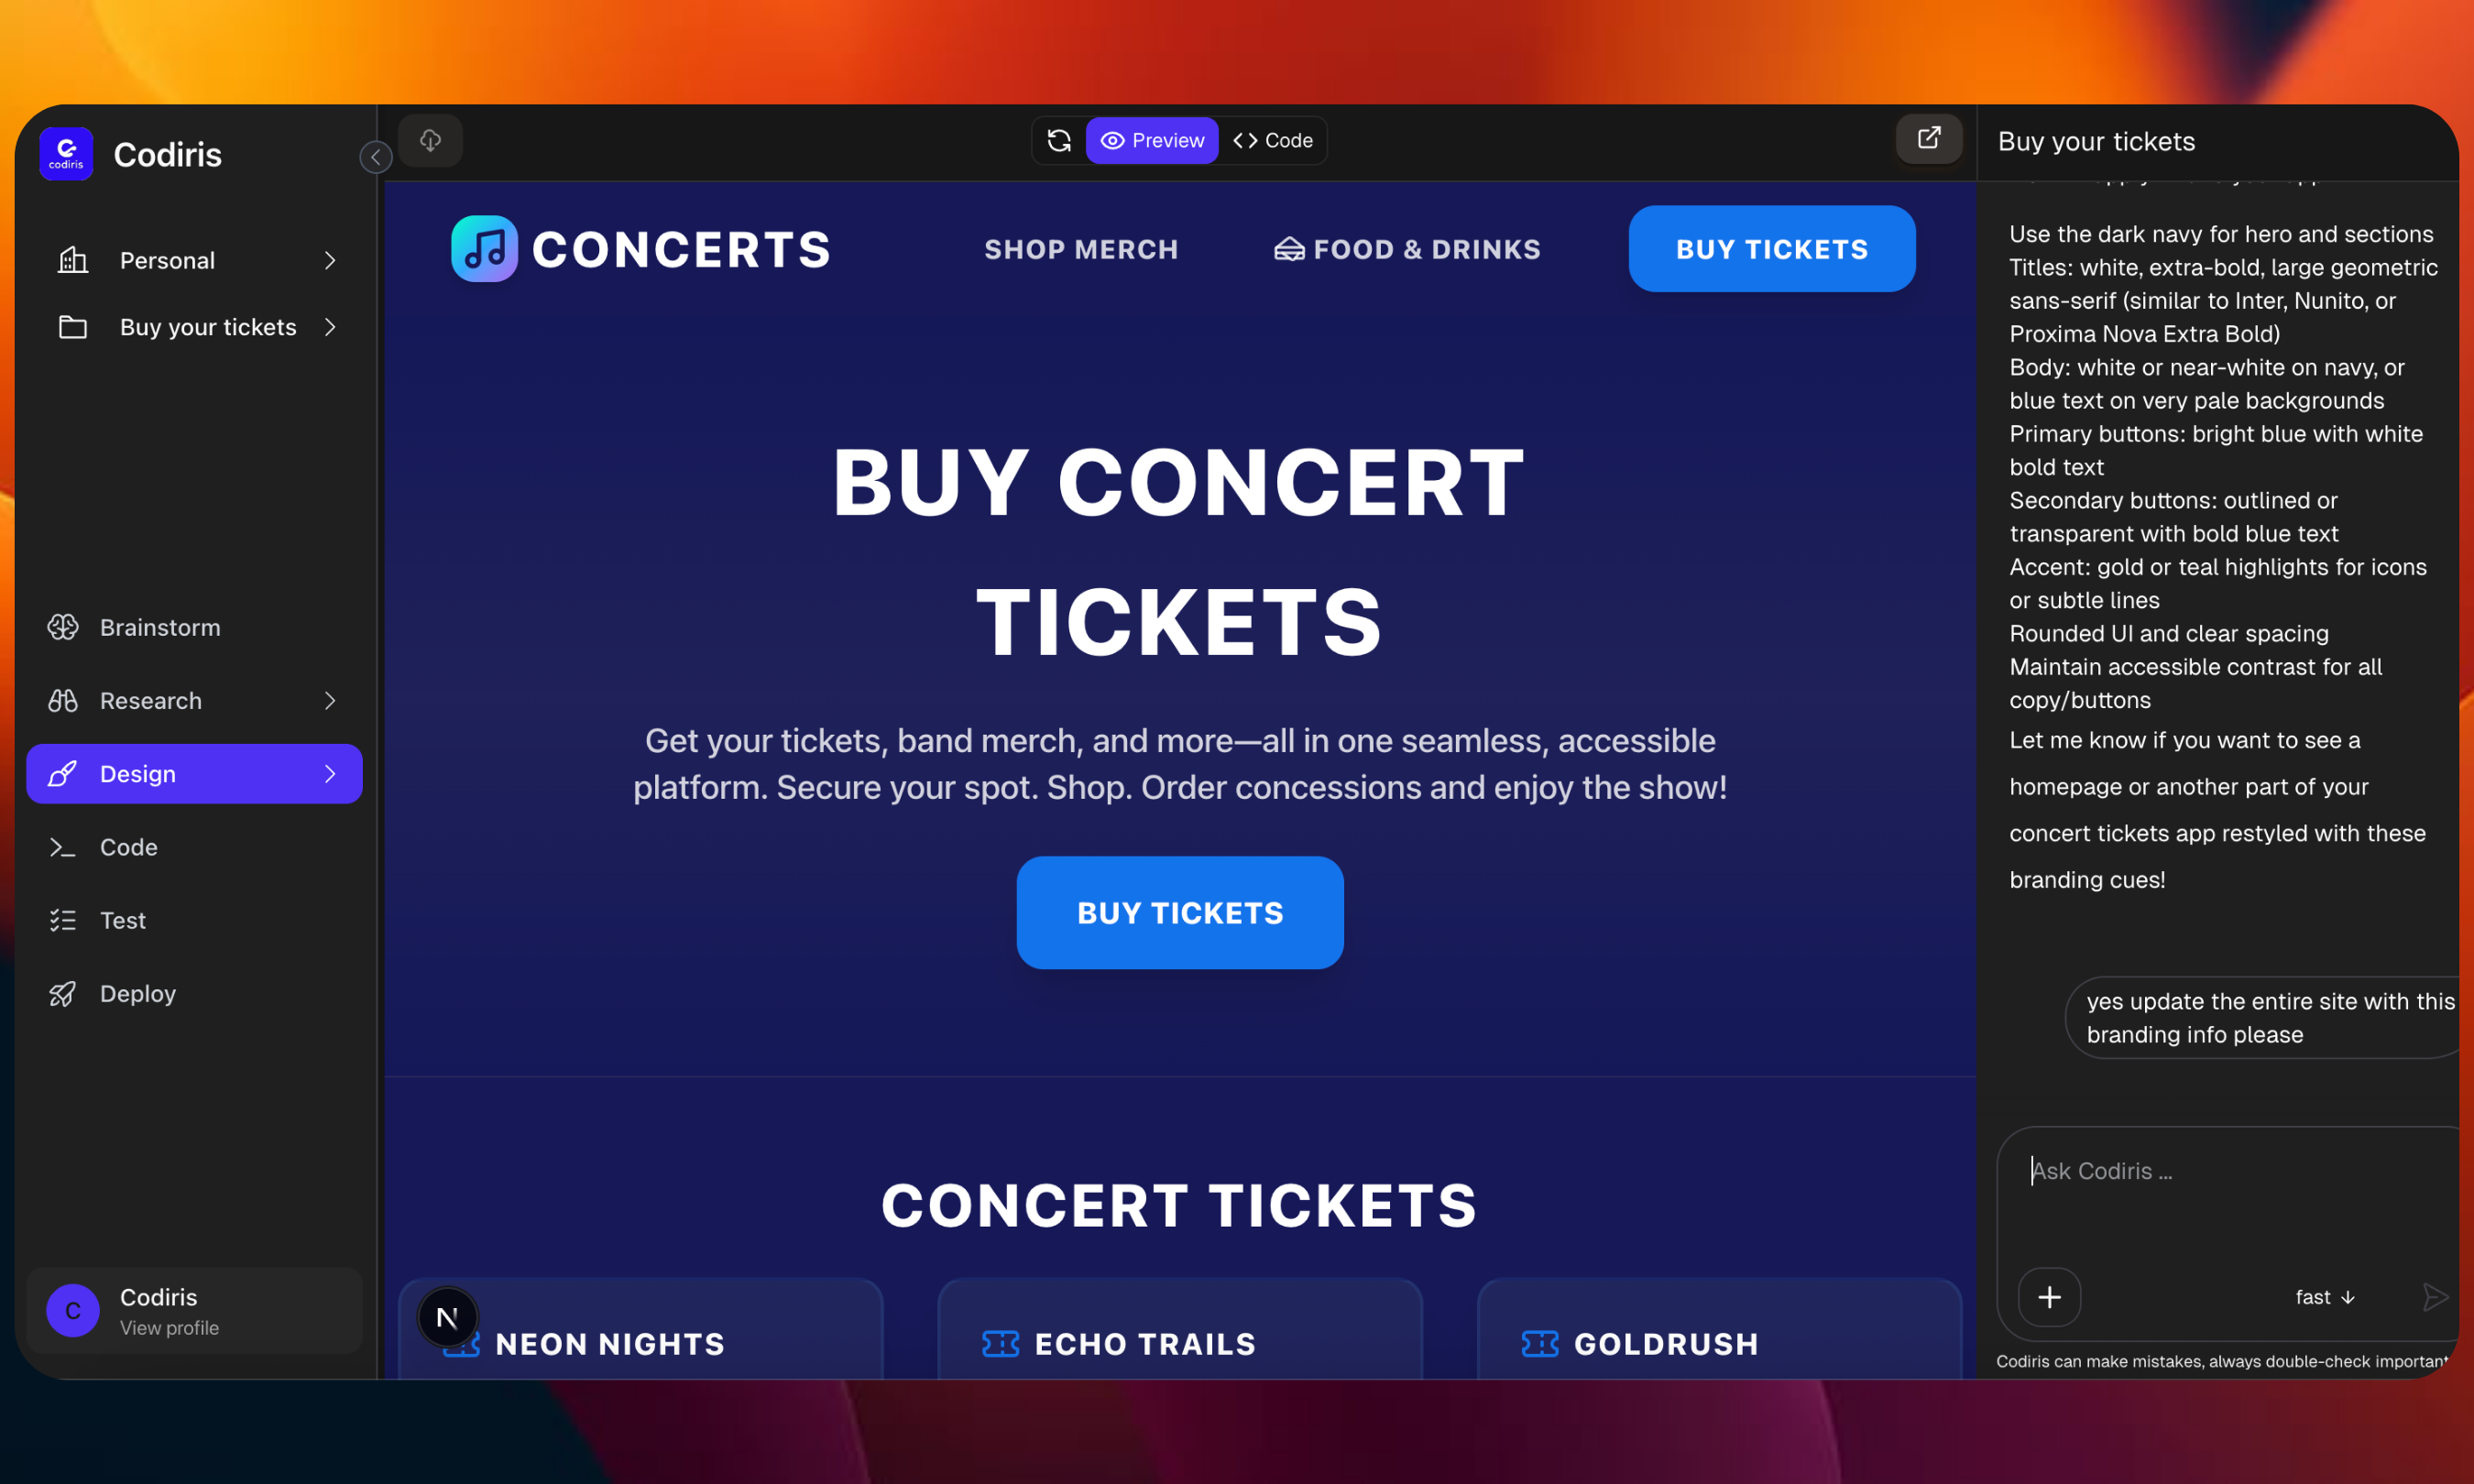
4.2 Backend
- Connect your GitHub to clone code and work in your preferred IDE, or
-
Request a quote from the Codiris team to finish your project with Codiris agents.
5. Testing (coming soon)
Run QA testing, end-to-end tests, and (coming soon) usability tests.
6. Deployment (coming soon)
When the product is ready, Codiris will help you deploy and close the loop with feedback.
Step 3
Settings
Settings
- User Settings: Manage your profile, notifications, and connected accounts.
- Workspace Settings: Add or remove members, manage roles, and adjust workspace preferences.
-
Pricing:
- VIP Free:
- Full Access to Codiris
- 1 workspace, 2 projects
- Unlimited credits for one week
- VIP Supporter ($25)
- 1 workspace, unlimited projects
- Unlimited credits per month
- 4 VIP invitations to share
- VIP Badge on your profile
- VIP Free:
-
Coming Soon:
Free: 1 workspace, 1 project, 50 credits/month. Access to Brainstorm, Research, and Design.
- Smart ($25): 2 workspaces, unlimited projects, 1000 credits/month. Access to all phases.
- Pro ($100): Unlimited workspaces/projects, 5000 credits/month.
- Max ($200): All Pro features, up to 10,000 credits/month.
Next steps
Features
Codiris offers a wide selection of features.
AI models
Explore all available models in codiris.
Tips & tricks
Quick pointers to help you get the most out of Codiris.
Use cases
There are a few common use cases where Codiris can impact your domain.